![]()
All product names, logos, and brands used in this post are property of their respective owners. Stock video footage provided by Videvo, downloaded from https://www.videvo.net.
It has been almost a year since I’ve written about my fondness of the fisheye video effect in the context of skate videos. At that time, I used a hardware solution (macro lens) to generate an amplified fish eye video effect from the Holy Stone F181G quadcopter’s camera. Since then, I’ve encountered a few use cases where a software solution (“do it in post-production”) is a better fit.
This is a long, detailed post. Before you invest too much time, make sure you want to achieve something like the following (adding a fisheye effect to a skate video) with free, open-source tools:
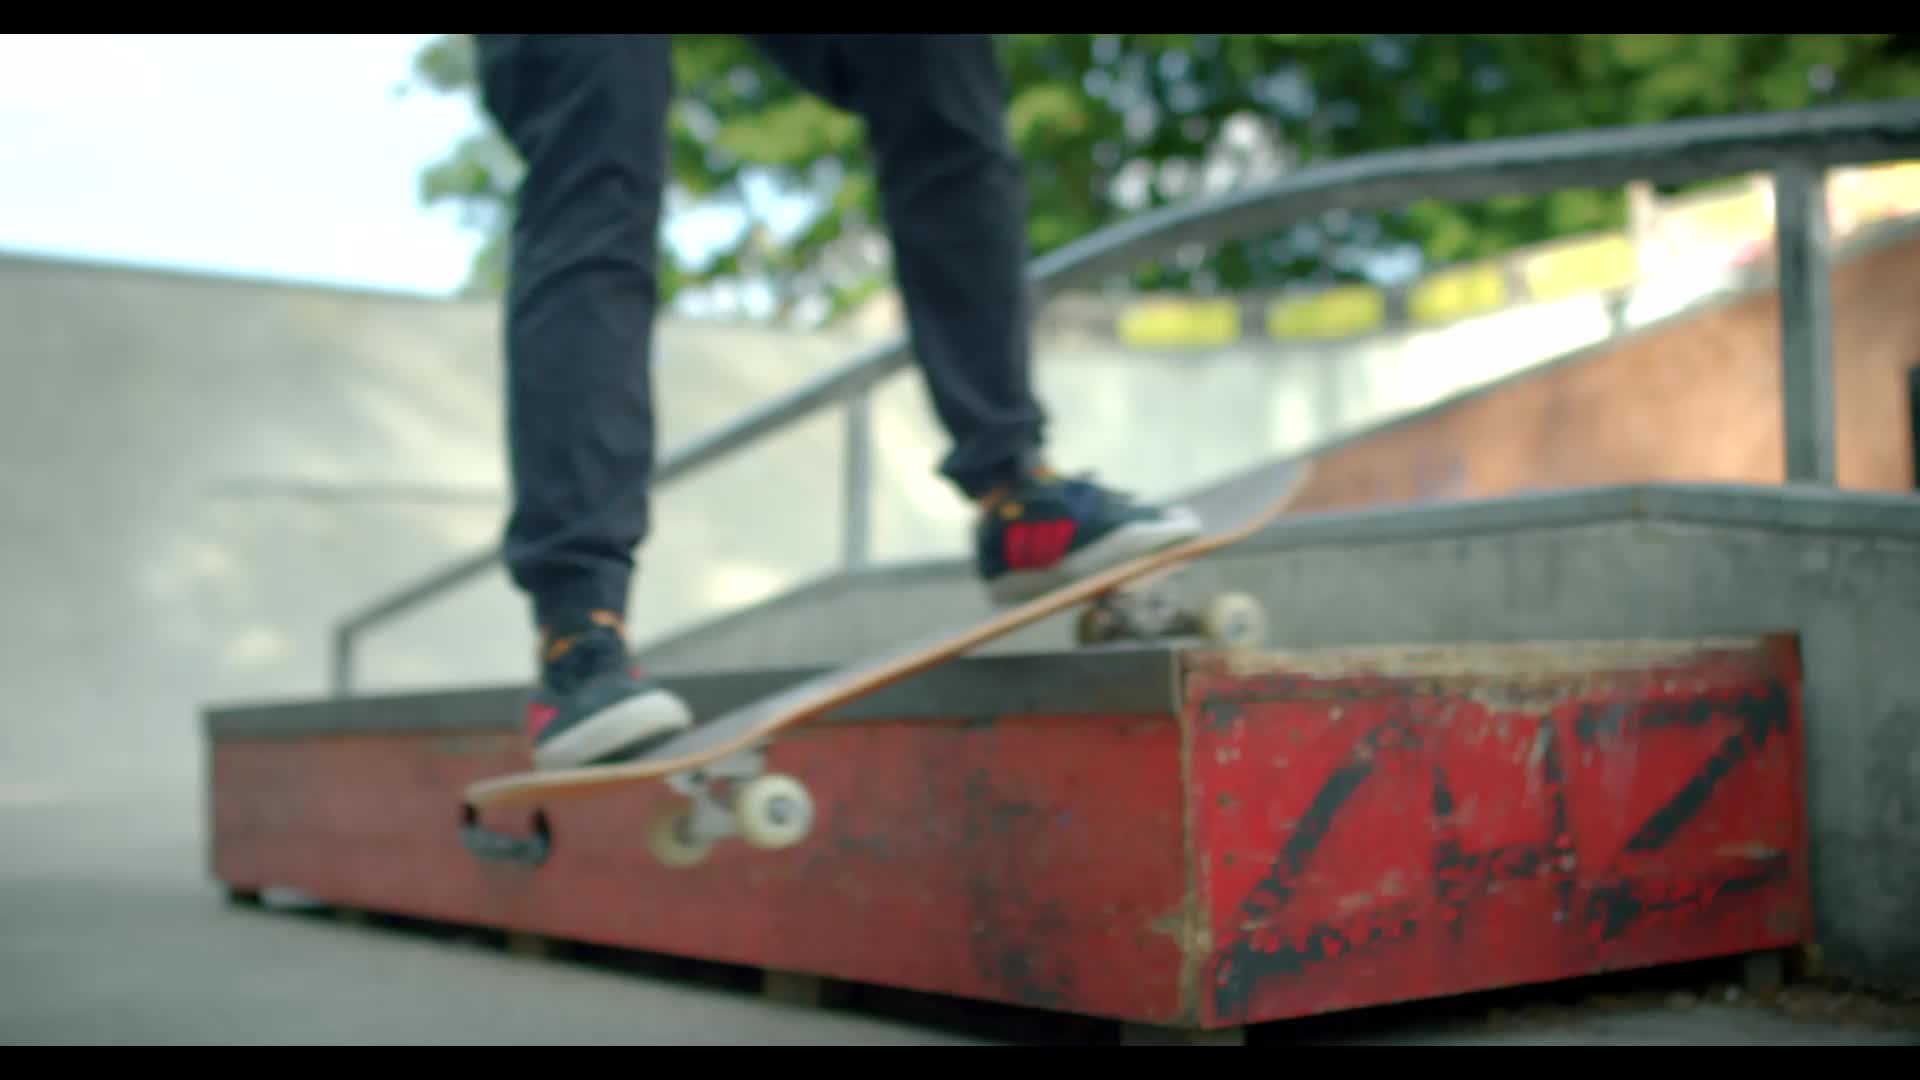
If you do, read on!
Adding fisheye lens distortion with FFmpeg
I use Microsoft Windows, so my first step was downloading and “installing” FFmpeg. I downloaded Gyan’s full release build, used 7-zip to extract the archive, and copied the contents to %LOCALAPPDATA%\Programs\ffmpeg (in my case: C:\Users\Neil\AppData\Local\Programs\ffmpeg).
I would be remiss not to acknowledge the genius of Gyan Doshi. Gyan is not only a key FFmpeg maintainer (including builds for Microsoft Windows), but he also addressed many of the hurdles I encountered through his contributions to Video Production Stack Exchange. A big shout out, thanks, and kudos to Gyan for his dedication and expertise!
There is no installer per se. The FFmpeg EXE only needs to exist on your computer. To simplify things, I added FFmpeg’s bin directory to my %PATH% variable in Command Prompt (cmd):
set PATH=%PATH%;%LOCALAPPDATA%\Programs\ffmpeg\bin\
I fell back to Command Prompt (cmd) vs. using PowerShell because of “Don’t parse the pipeline as text when it is directed from an EXE to another EXE or file. Keep the bytes as-is”. I used the pipe protocol in my FFmpeg commands, so my path of least resistance was cmd.
With FFmpeg ready to rock, I used a four step process to apply a fisheye effect:
- Distort the video with the lenscorrection filter
- Crop or mask the video using a partially-transparent, circular watermark
- Crop the video (removing blank areas) to its actual content
- Combine these three operations using piped FFmpeg commands
I’ve detailed each step below.
1) Distort the video with the lenscorrection filter
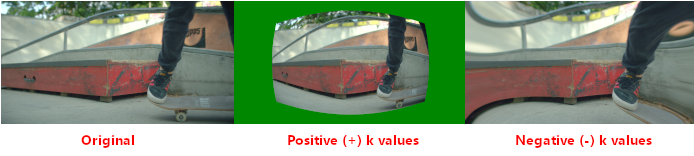
The lenscorrection filter is intended to remove distortion from video captured using a wide-angle lens. However, it can be used in reverse to apply radial distortion to a video. The filter accepts these parameters.
I left cx and cy alone (at their default value of 0.5), which results in FFmpeg using the center of the video as the focal point for distortion. I suspect the default values work in most cases.
For k1 and k2, I used the “trial and error” method to find positive (greater than 0) values that yielded the desired effect. If the k values are less than 0, the result is radial correction. If they are greater than 0, the result is radial distortion.
An example command using lenscorrection to distort (fisheye) a video called input.mp4 would resemble this:
ffmpeg -i input.mp4 -vf "lenscorrection=cx=0.5:cy=0.5:k1=1:k2=1" distorted.mp4
If more distortion is desired, you can run multiple “passes” through the lenscorrection filter. Example:
ffmpeg -i input.mp4 -vf "lenscorrection=cx=0.5:cy=0.5:k1=1:k2=1,lenscorrection=cx=0.5:cy=0.5:k1=1:k2=1" distorted.mp4
2) Crop or mask the video using a partially transparent circular watermark
I used Grant Lipelt’s well-documented approach for non-rectangular video cropping using FFmpeg, which relies on the movie filter in FFmpeg.
Instead of using the convert command, I created my masks with GIMP. Example:
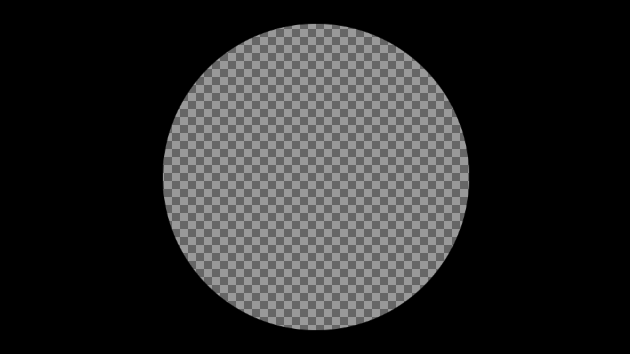
If your input video is 1920 x 1080 and you use the same lenscorrection values that I did, you are welcome to re-use my masks:
- 1920 x 1080, lenscorrection=cx=0.5:cy=0.5:k1=0.5:k2=0.5
- 1920 x 1080, lenscorrection=cx=0.5:cy=0.5:k1=1:k2=1
- 1920 x 1080, lenscorrection=cx=0.5:cy=0.5:k1=1:k2=1,lenscorrection=cx=0.5:cy=0.5:k1=0.5:k2=0.5 (2 passes)
An example command using the movie filter to circular crop (mask) a video called distorted.mp4 using a partially-transparent mask called fisheye-mask-k1-0.png would resemble this:
ffmpeg -i distorted.mp4 -vf "movie=fisheye-mask-k1-0.png [watermark]; [in] [watermark] overlay=0:0 [out]" circular-cropped.mp4
3) Crop the video (removing blank areas) to its actual content
Geppettvs D’Constanzo provided excellent examples and explanations of the FFmpeg crop filter and parameters in his answer to “How can I crop a video with FFmpeg”. I used his answer as a baseline for my cropping.
After lens distortion and circular cropping, there is a lot of blank space in the video content. I opted to crop mine to the edges of the circle (fish eye) to clean things up. Note that each k value/circular crop combination requires a unique crop value. I calculated mine as follows:
Width:
(video source width in pixels - diameter of the circular crop in pixels)
Height: (video source height in pixels - diameter of the circular crop in pixels)
Example (for input resolution of 1920 x 1080, k’s = 1 and circular mask diameter of 860 px):
Width: (1920 - 860) = 1060
Height: (1080 - 860) = 220
As Geppettvs demonstrated, specifying only the input width (in_w) and height (in_h) in the crop filter results in a centered, even crop. In other words, FFmpeg crops half of out_w from the left/right of the video, and half of out_h from the top/bottom.
Example command:
ffmpeg -i circular-cropped.mp4 -vf "crop=in_w-1060:in_h-220" cropped-to-content.mp4
To retain a 16:9 aspect ratio, you can pad the crop on the height a little (20 px) and calculate the crop for the width using a proportion:
Height: 220 - 20 (padding) = 200
Width: 16/9 = w/200 -> 9w = 3200 -> w = 355.5
Example crop command for a 16:9 aspect ratio:
ffmpeg -i circular-cropped.mp4 -vf "crop=in_w-356:in_h-200" cropped-to-content-16-9.mp4
4) Combine these three operations using piped FFmpeg commands
I wanted a single command to run to execute the filters above against one or more videos. I toyed with FFmpeg filter chaining but encountered issues with multiple filters and a single input stream. That led me down the path of piping the output of each FFmpeg command to a new instance of FFmpeg and using the final command to generate the output file.
Note, this does not work with PowerShell at the time of writing. You must use command prompt (cmd) for FFmpeg piping to work as documented on Windows.
This works similarly to most other piping. The only differences with FFmpeg are:
- You must tell it to write its output to the pipe and specify an output format suitable for piping
- You must tell the next FFmpeg command to receive its input from the pipe
To chain two FFmpeg commands together, piping the output of the first to the second and saving the result to “distorted-and-circular-cropped.mp4,” the command resembles:
ffmpeg -i input.mp4 -vf "lenscorrection=cx=0.5:cy=0.5:k1=0.5:k2=0.5" -f mpegts pipe: | ffmpeg -i pipe: -vf "movie=fisheye-mask-k0-5.png [watermark]; [in] [watermark] overlay=0:0 [out]" distorted-and-circular-cropped.mp4
The -f mpegts pipe: at the end of the first FFmpeg command specifies the format and directs its output to the pipe. The -i pipe: at the beginning of the second FFmpeg command instructs it to read its input from the pipe.
My final command looks like this:
ffmpeg -i input.mp4 -vf "lenscorrection=cx=0.5:cy=0.5:k1=1:k2=1" -f mpegts pipe: | ffmpeg -i pipe: -vf "movie=fisheye-mask-k1-0.png [watermark]; [in] [watermark] overlay=0:0 [out]" -f mpegts pipe: | ffmpeg -i pipe: -vf "crop=in_w-1060:in_h-220" output.mp4
Sample renderings
These are examples of the resulting FFmpeg fish eye effect with various k values for the lenscorrection filter, sizes of circular mask for the movie filter, and values for the crop filter.
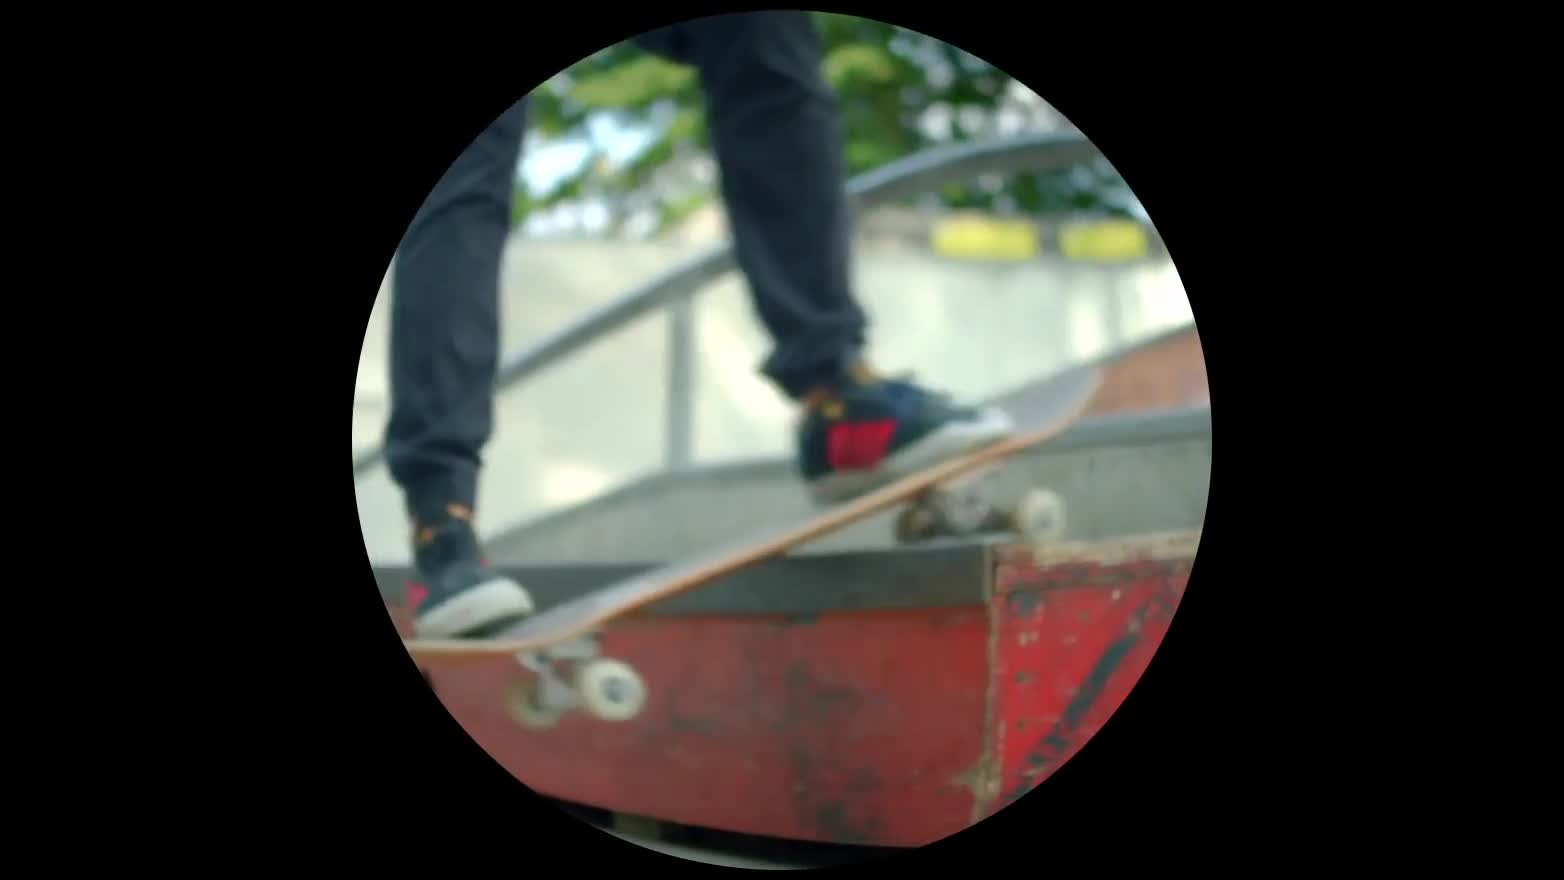
Note that the stock/sample video is a stationary shot of a backside boardslide. Not sure C.R. Stecyk III would approve! In my opinion, the effect would be enhanced if the video leveraged a tracking shot instead.
lenscorrection: k1=0.5, k2=0.5
ffmpeg -i input.mp4 -vf "lenscorrection=cx=0.5:cy=0.5:k1=0.5:k2=0.5" -f mpegts pipe: | ffmpeg -i pipe: -vf "movie=fisheye-mask-k0-5.png [watermark]; [in] [watermark] overlay=0:0 [out]" -f mpegts pipe: | ffmpeg -i pipe: -vf "crop=in_w-1000:in_h-160" output0-5.mp4
lenscorrection: k1=1, k2=1
ffmpeg -i input.mp4 -vf "lenscorrection=cx=0.5:cy=0.5:k1=1:k2=1" -f mpegts pipe: | ffmpeg -i pipe: -vf "movie=fisheye-mask-k1-0.png [watermark]; [in] [watermark] overlay=0:0 [out]" -f mpegts pipe: | ffmpeg -i pipe: -vf "crop=in_w-1060:in_h-220" output1-0.mp4
lenscorrection: k1=1.5, k2=1.5
As noted, you cannot specify k values greater than 1, so this example is 2 “passes” through the lenscorrection filter. For the first pass, k1=1 and k2=1, and for the second pass, k1=0.5 and k2=0.5.
ffmpeg -i input.mp4 -vf "lenscorrection=cx=0.5:cy=0.5:k1=1:k2=1,lenscorrection=cx=0.5:cy=0.5:k1=0.5:k2=0.5" -f mpegts pipe: | ffmpeg -i pipe: -vf "movie=fisheye-mask-k1-5.png [watermark]; [in] [watermark] overlay=0:0 [out]" -f mpegts pipe: | ffmpeg -i pipe: -vf "crop=in_w-1120:in_h-280" output1-5.mp4
Limitations
This approach is not perfect. The most noticeable drawback is the reduction in the size of the video’s viewable content. Both the lenscorrection filter and circular crop contribute to this as follows:
Each pass through the lenscorrection filter (when k1 and k2 are greater than 0) shrinks the viewable content of the output video. For example, distorting a 1920 x 1080 video with k1 and k2 = 0.5 results in about 33% of the actual video being lost. At two passes with k1 and k2 = 1 plus 0.5, about 57% of the video is lost.

Circular (round or fisheye) cropping of the output video to the actual content (trimming the empty areas) results in an even smaller final video. For example, distorting and cropping a 1920 x 1080 video with k = 0.5 results in about 68% of the actual video being lost. At two passes with k = 1 and 0.5 (and cropping), about 76% of the video is lost.

Comparing the software and hardware solutions
For an “apples to apples” comparison, here is my original motion shot, filming the “invisible skater” kick flipping into a 50-50 and grinding the rail, from “Holy Stone F181G Drone Fisheye Camera Lens (Skate Videos)”. I processed the same source video with FFmpeg to produce a comparable effect.
Software (FFmpeg)
FFmpeg command (if interested):
ffmpeg -i input.mp4 -vf "lenscorrection=cx=0.5:cy=0.5:k1=1:k2=1" -f mpegts pipe: | ffmpeg -i pipe: -vf "movie=fisheye-mask-k1-0.png [watermark]; [in] [watermark] overlay=0:0 [out]" -f mpegts pipe: | ffmpeg -i pipe: -vf "crop=in_w-640:in_h-360" output.mp4
Hardware (lens)
What is your preference? Leave a comment and let me know.
Thanks for reading, stay safe, and keep riding and filming!