All product names, logos, and brands used in this post are property of their respective owners.
In light of the pandemic, I have watched way too much streaming content over the last year or so. This has resulted in my paying closer attention to filming techniques, shots, etc. I am by no means even a novice in this regard - just a casual observer at best.
Overhead or God’s eye view shots have begun to stand out to me, and I am fond of the effect.

Examples of neat overhead shots from The Expanse: Season 2, Episode 11 "Here There Be Dragons" at 00:23:37 and Death to 2020 at 00:00:13
That got me thinking about how I could capture something similar with my Holystone F181G drone. Out of the box, it is impossible because of the drone’s camera orientation:

By my measurements, the camera only pivots ~20 degrees down.
To address that limitation, I fabricated a custom camera mount for the Holy Stone F 181G that allows a full 90-degree camera orientation for overhead shots. I used existing/spare parts from the drone. It is also relatively non-invasive (easily undone), restoring the original camera mount.
The limiting factor for relocating the Holy Stone F181G’s camera is the length of the camera cable. Because it is short, the options are limited. I initially planned to keep a more balanced center of gravity for the drone by mounting the camera directly underneath (90 degrees). That was not possible because of the cable length. Luckily, even with the offset camera mount, the quadcopter still flies well. Nothing the trim cannot handle.
I documented my approach below in the hopes it helps someone looking to achieve a similar effect. Feel free to comment with questions, thoughts, or recommendations.
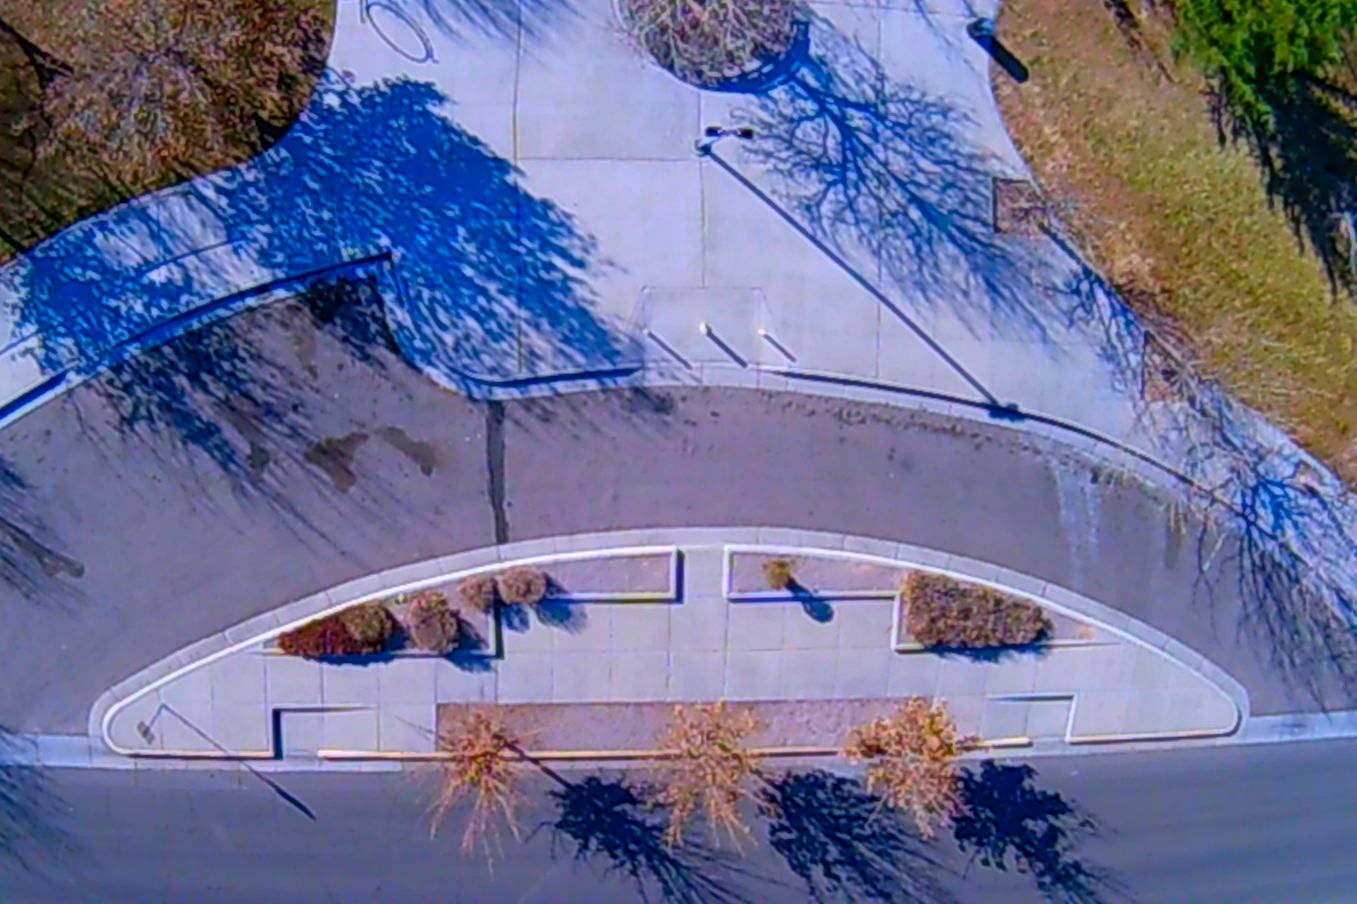
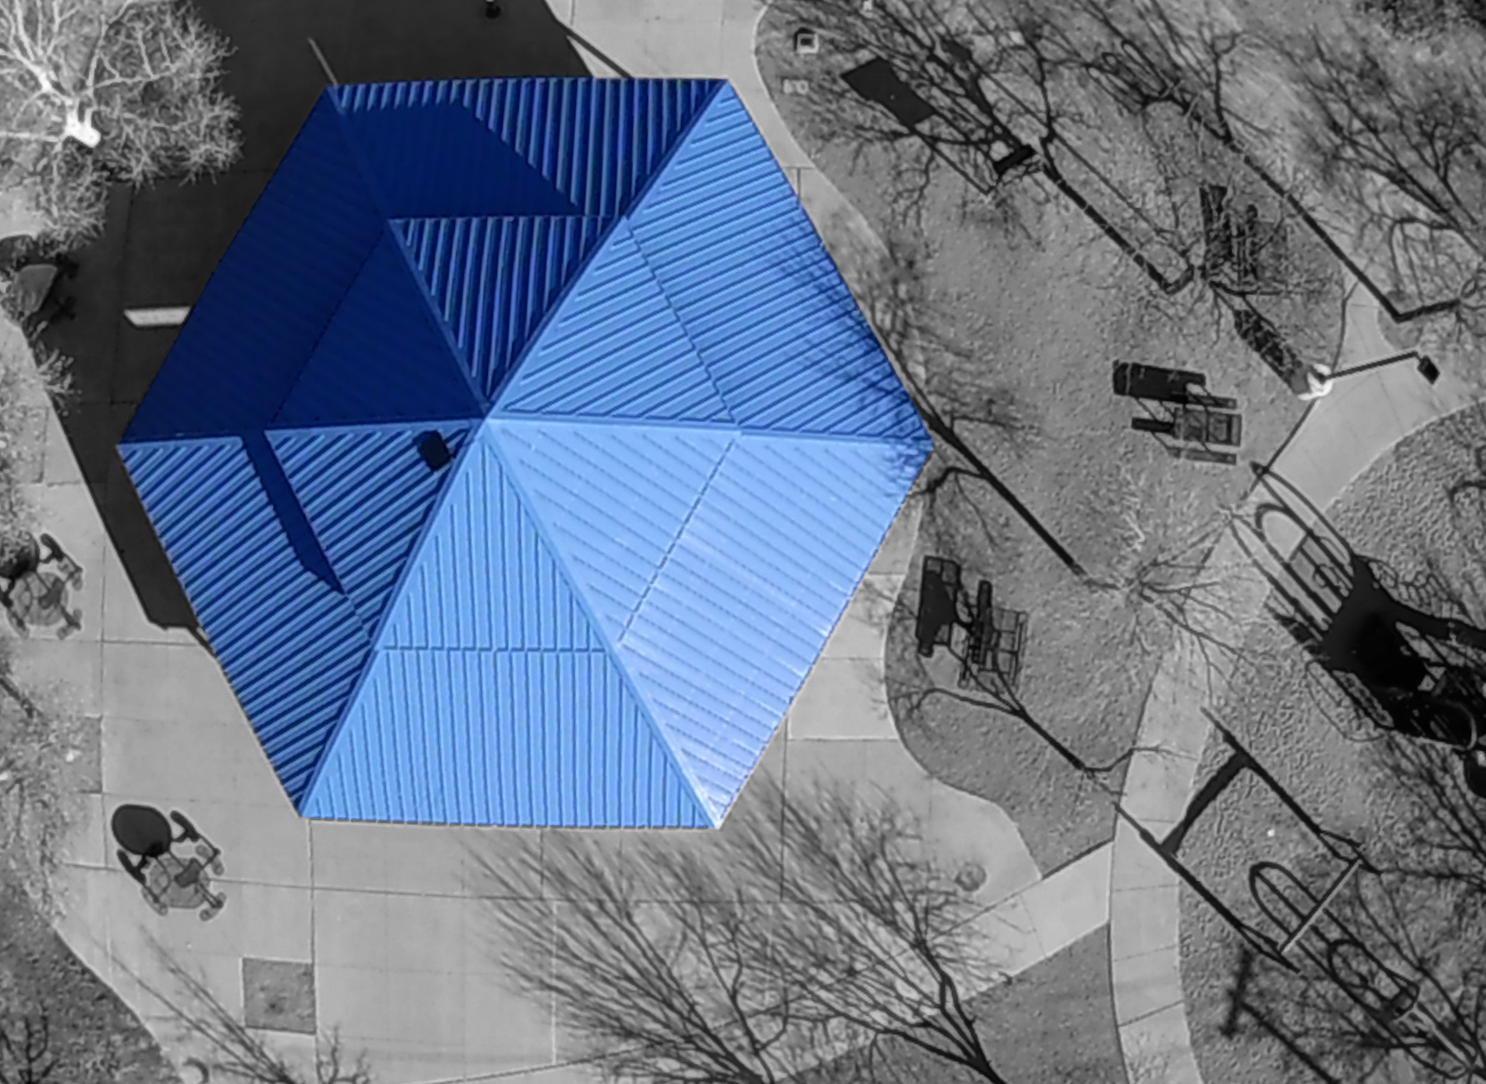
Example overhead (God’s eye view) shots
I took these sample photos (showcasing the custom overhead camera mount) at Bel-Air Park in Albuquerque, New Mexico. To make the subject matter more interesting, I doctored them a little (color enhancement, background desaturation, and minor cropping).


Completed God’s eye view camera mount
Here is the finished product. If you are looking for the specific steps I took to create the mount, scroll to the Steps to create the mount (using a spare prop guard) section.
Steps to create the mount (using a spare prop guard)
These are the steps I took to create the custom camera mount.